Service of Process may now be requested after a case has been initiated in select courts. If available for your location, the option to serve your accepted documents directly to parties at their home or place of business will be available via our new Service of Process option listed on the dashboard of your account.
When placing a service of process order, it is crucial to provide thorough and precise information about the service target. This ensures that our contractors can serve the necessary documents efficiently and effectively.
Create a Service of Process Order
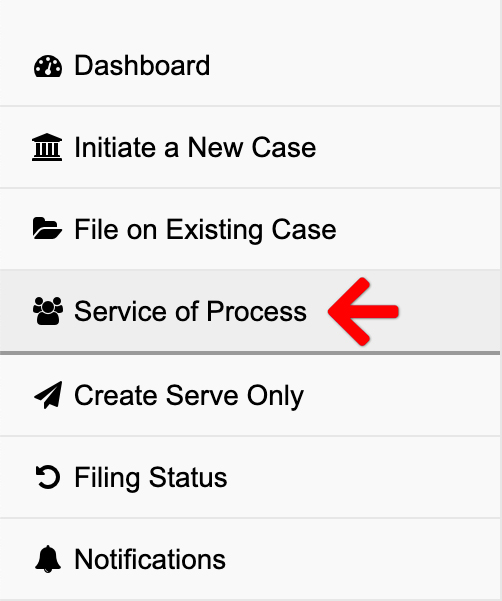
From the Dashboard, click Service of Process
1. Select Case – Choose your case, or click add a case to retrieve your case from the court’s system.
Important Note – Service of Process is currently available for existing court cases only.
If you do not see your case in the drop down, you may type some or all of the case number to filter your results. If you have not yet added the case to your account, you may click the Add a Case link to the right of the Case field.
Learn how to add a case to your account
2. Add Documents – Define, select, and upload the documents that make up your filing.
- Document Description/Name Extension – Enter the document title in the document description/name extension field.
- Click to Upload – Click the link to add your document. Aside from the Bulk Party List, our system will automatically convert most native file formats (i.e. Word, WordPerfect, JPG, PNG, GIF, TIF) into the Court’s preferred Adobe PDF format, upon upload.
- Edit – Click the Edit button to edit a description, delete a document, or replace a document.
3. Service of Process – Serve documents directly to parties at their home or place of business.
Once you have selected your case and uploaded your documents, the Service of Process section will be available for you to request service of process. You will check the box Yes, I would like to have documents served directly to parties. to begin the process.
Requesting service of process reveals an Add Service Party link to add a party and give any relevant information that can assist the process server execute service.

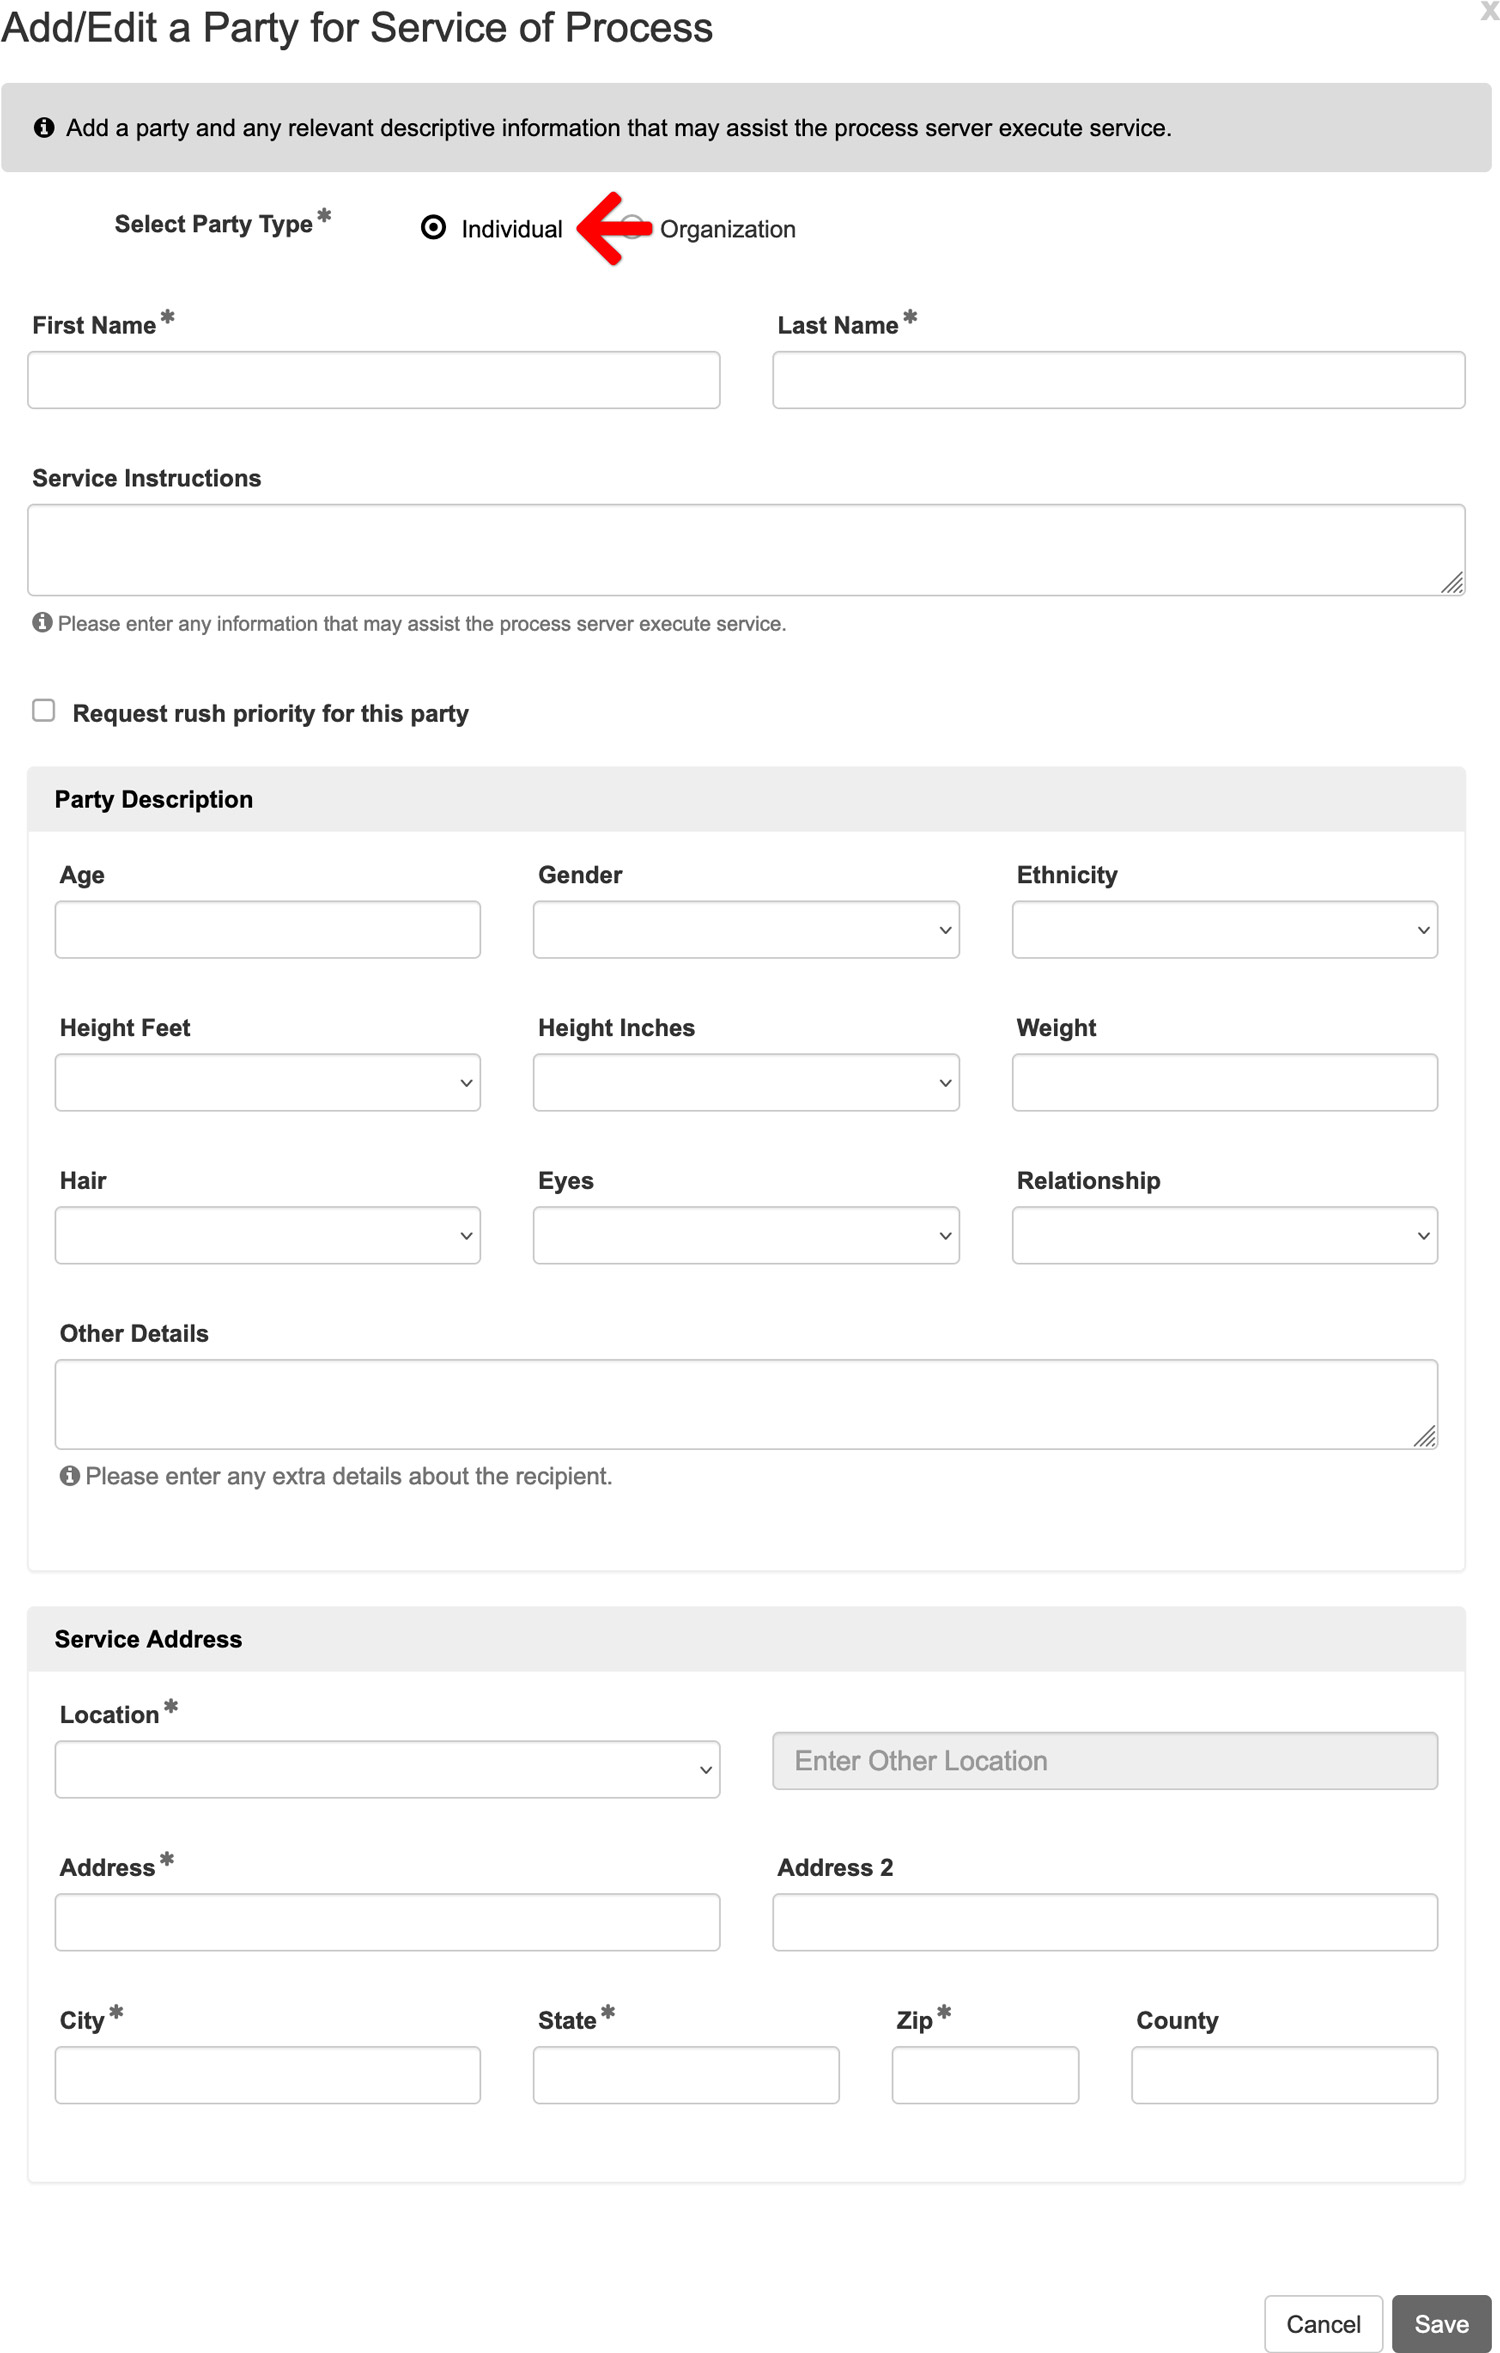
When you click the Add Service Party link, a box will display that allows filers to add either an Individual party or a Organization party. To add an INDIVIDUAL party, click that radio button and then fill out the information below it.
Party Name: Add the party’s name and any service instructions. Additionally, you may request rush priority for this party for an extra fee.
Party Description: To increase the likelihood of a successful serve, it’s beneficial to provide a detailed physical description of the individual. Aim for at least five distinguishing features, such as height, hair color, eye color, any noticeable tattoos, or specific clothing preferences.
Service Address: A full address is required for the individual you wish to serve. If you’re uncertain about the target’s exact location, consider requesting a skip trace to obtain more accurate details.

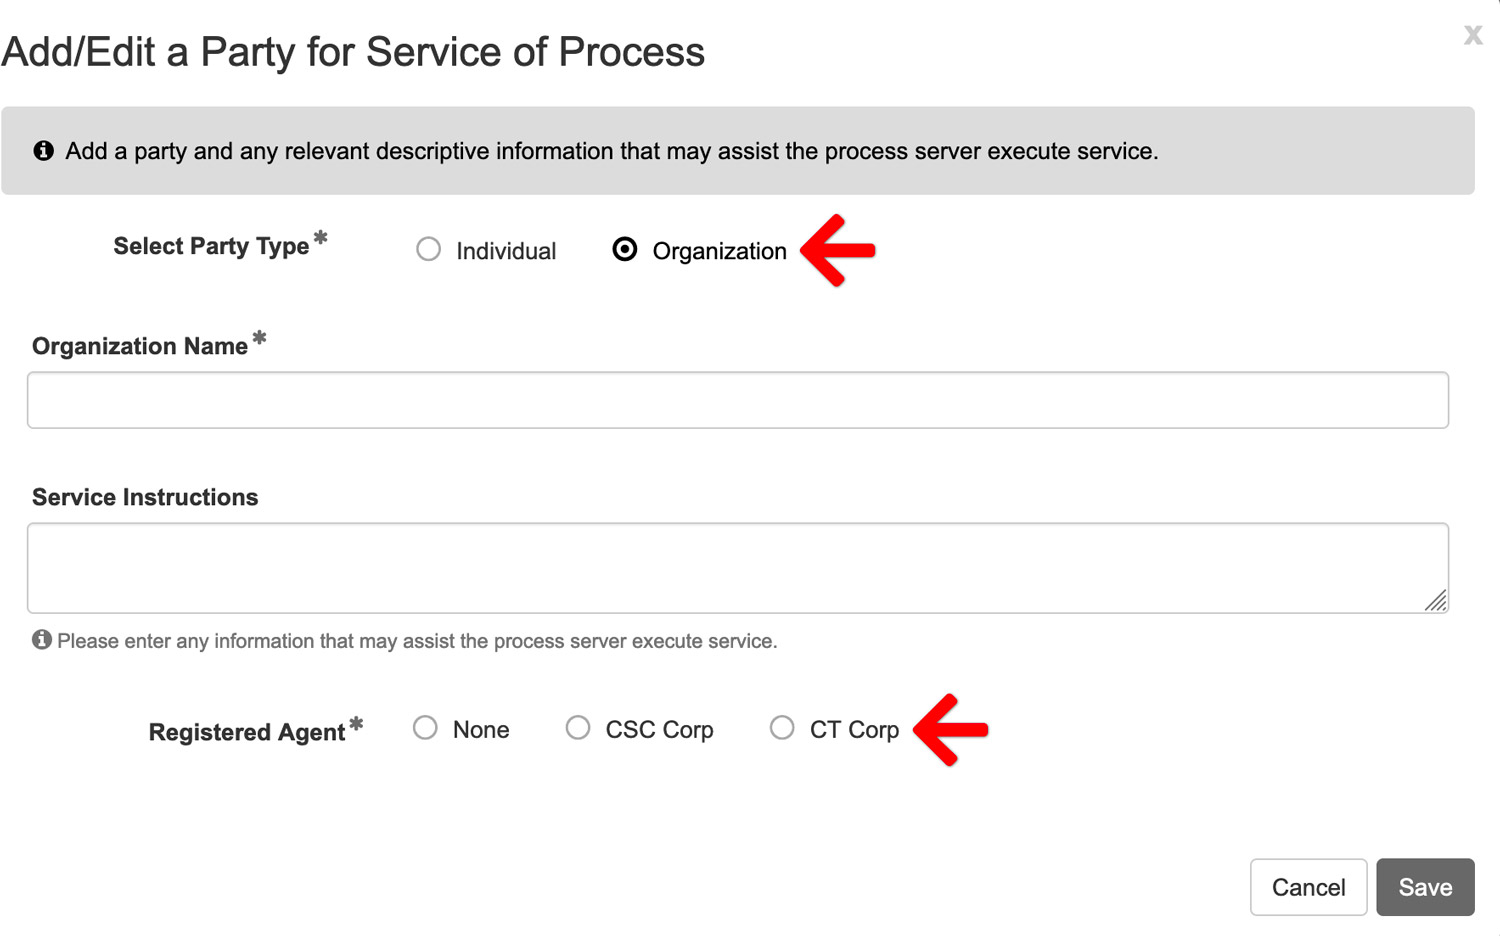
When you click the Add Service Party link, a box will display that allows filers to add either an Individual party or a Organization party. To add an ORGANIZATION or BUSINESS party, click the ORGANIZATION radio button and then fill out the information below it.
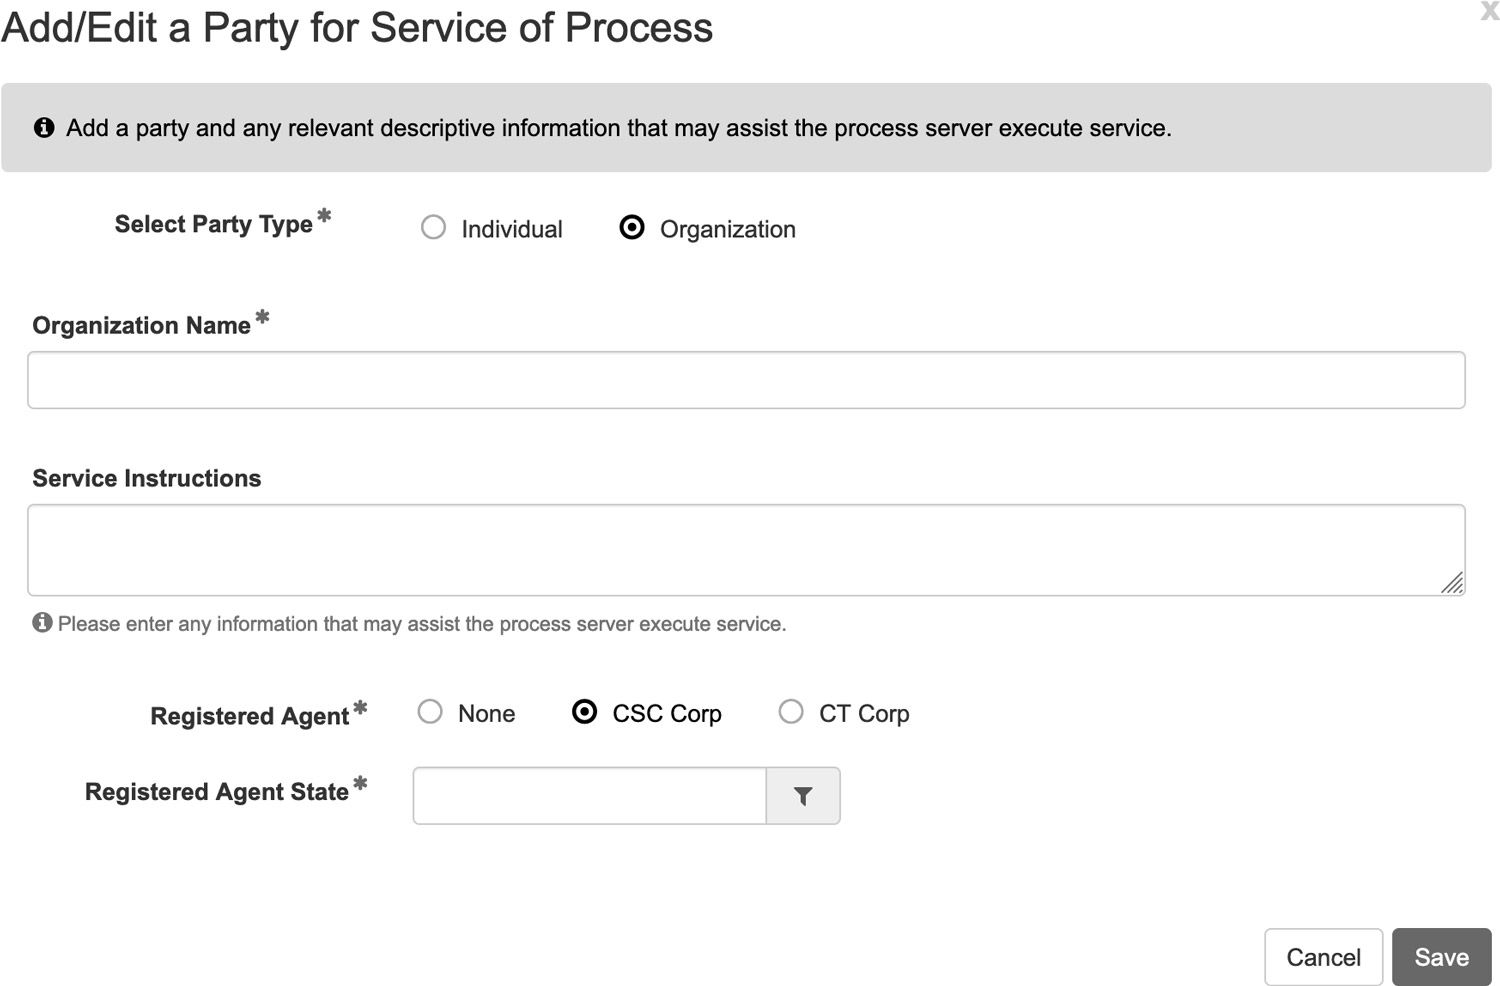
Registered Agent: When serving a business or organization, it’s crucial to identify the agent for service. This is the individual or entity designated to receive legal documents on behalf of the business. If the business has either CT or CSC as their registered agent, you can directly select this option.
Disburse Witness Fees
If you need to disburse witness fees for a party, please enter the Disbursement Amount and the Payee (whom we should make the check out to) in the Service Instructions text box. We will collect this amount upon completion of the order.
4. Review Party Information
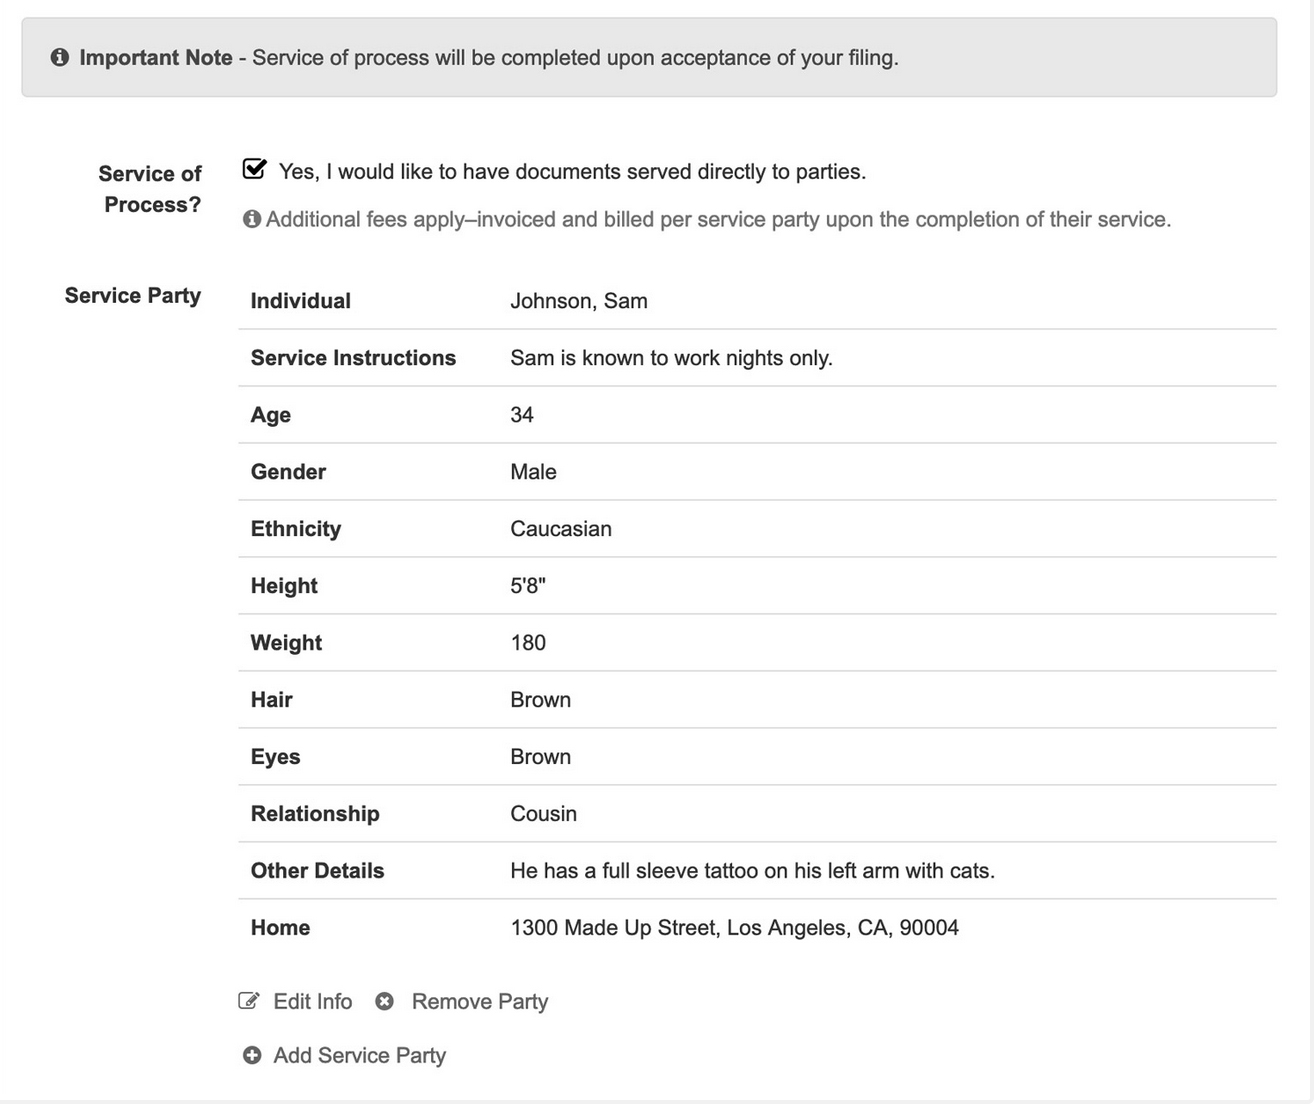
Once you have added a party, you will see a table with that party’s information. Please review it for accuracy before submitting the filing. If anything is incorrect, you will be able to edit that information or remove the party. Additionally, you may add another party to be served.
5. Service of Process Estimated Fees
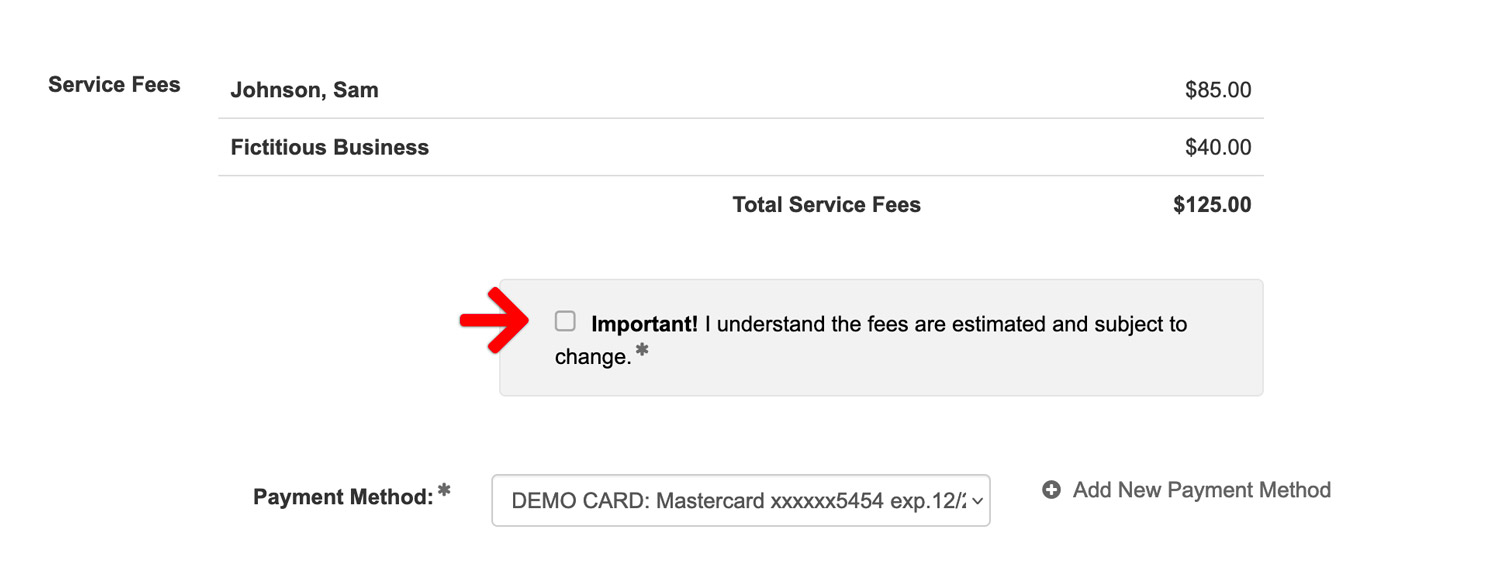
After you have entered all parties you wish to have served, you will find a list of the parties with the estimated fees associated for serving that party.
You will then choose a payment type for the service or process and each party will be invoiced separately using that payment type.
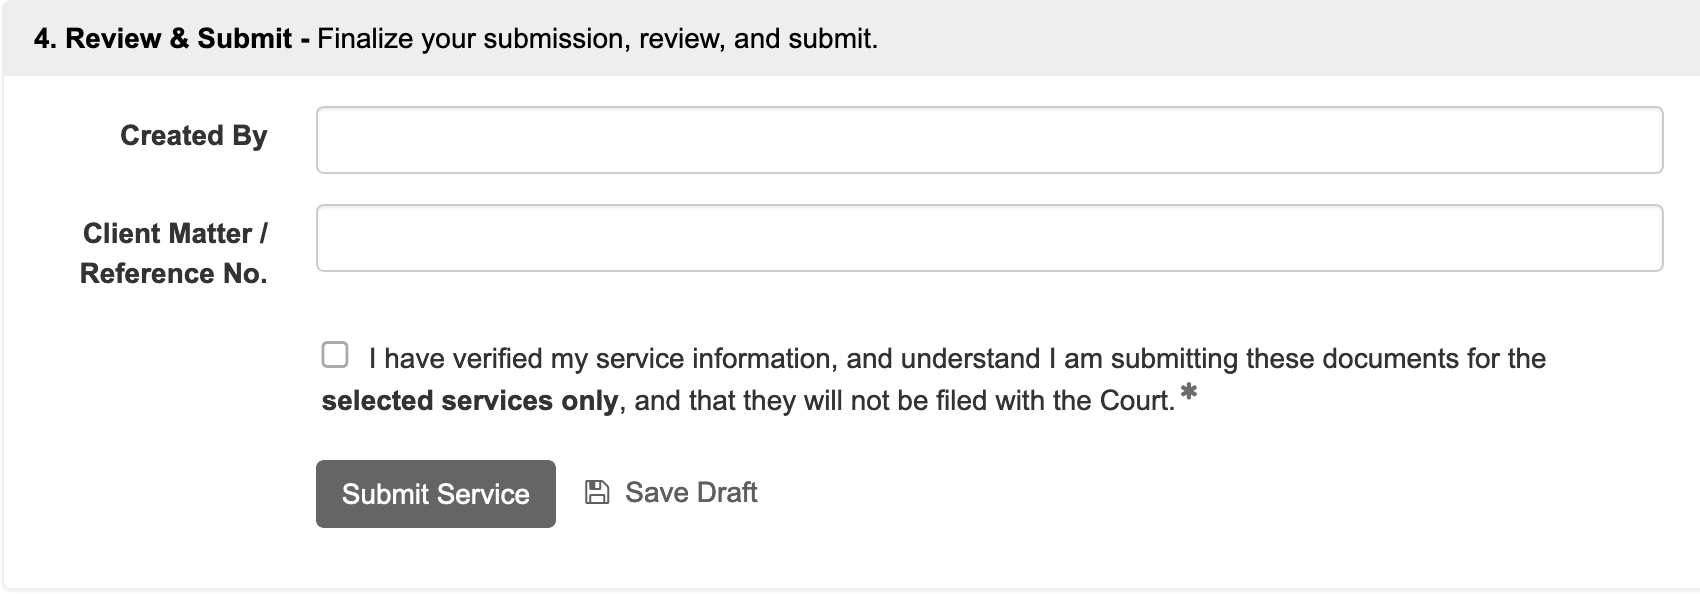
4. Review & Submit – Finalize your submission, review, and submit.
Review your entire filing for accuracy. Then check the box to acknowledge you have verified your service information and that you understand you are submitting these documents for the selected services only. They will not be filed with the Court.
Service of Process Delivery
Upon receipt of your documents, One Legal’s Service of Process team will begin the process of serving your parties those file-stamped documents.
Attempts
Regardless of your chosen service frequency (see below), your assigned process server will make up to five attempts to effect service. If service is not effectuated after five attempts, you will receive a non-service report and be presented with the option to purchase additional attempts.
Frequency
When placing your order, you may choose between two frequency options:
- Standard Delivery: This is the default service frequency. Your server will make the first attempt within three business days of receiving your order. The server will then then make a minimum of one attempt every three days after that (up to five total).
- Rush Priority: If you request rush priority for an order, the server will need to receive that order before noon (12 p.m.) in the time zone of your service target for the first attempt to be made the same day. This is contingent on the date and time the filing clerk at the Court accepts the filing. The first attempt on orders received after noon (12 p.m.) will be made the next day. Attempts will be made every subsequent day (up to five total).
Communicate with your Process Server
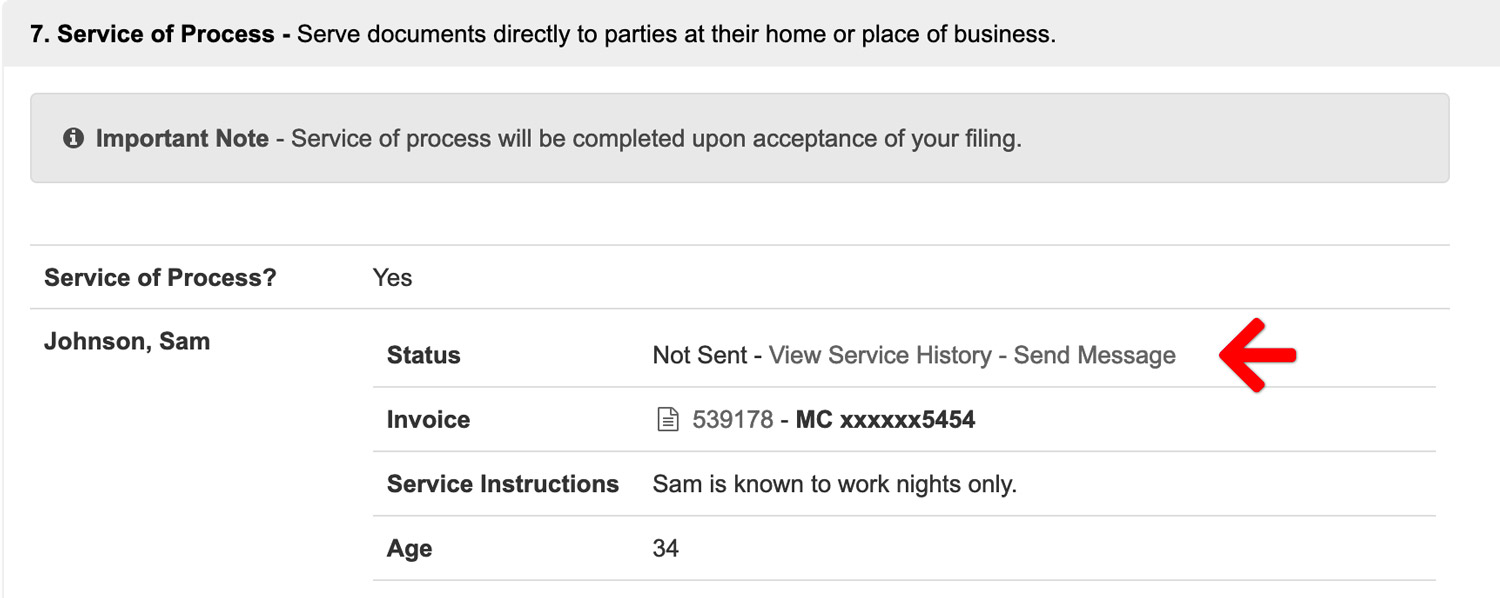
You may communicate with your process server, after the filing has been submitted and your order is In Process. To do so, return to the accepted filing—click FILING STATUS on the left menu and then click the accepted filing ID—and scroll to the Service of Process Section of the filing.
Each party will have it’s own status and in that row of the table, you can click the link View Service History – Send Message.
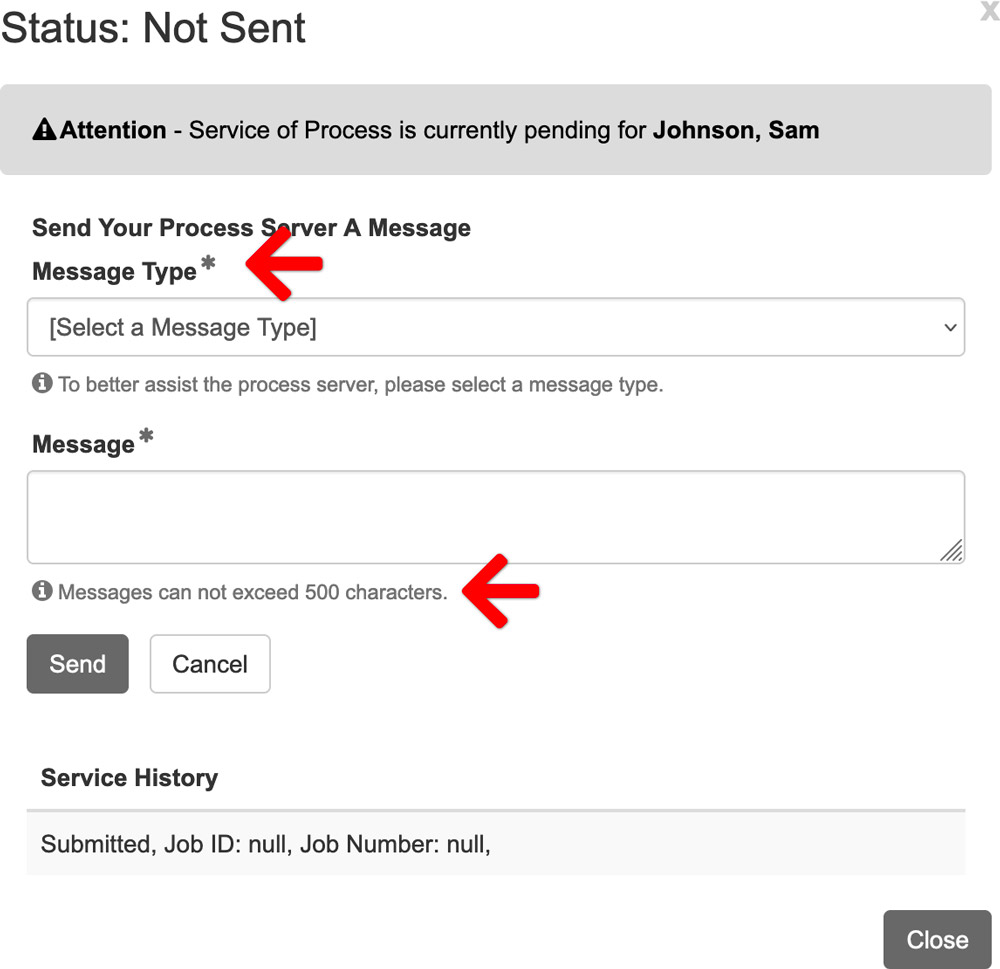
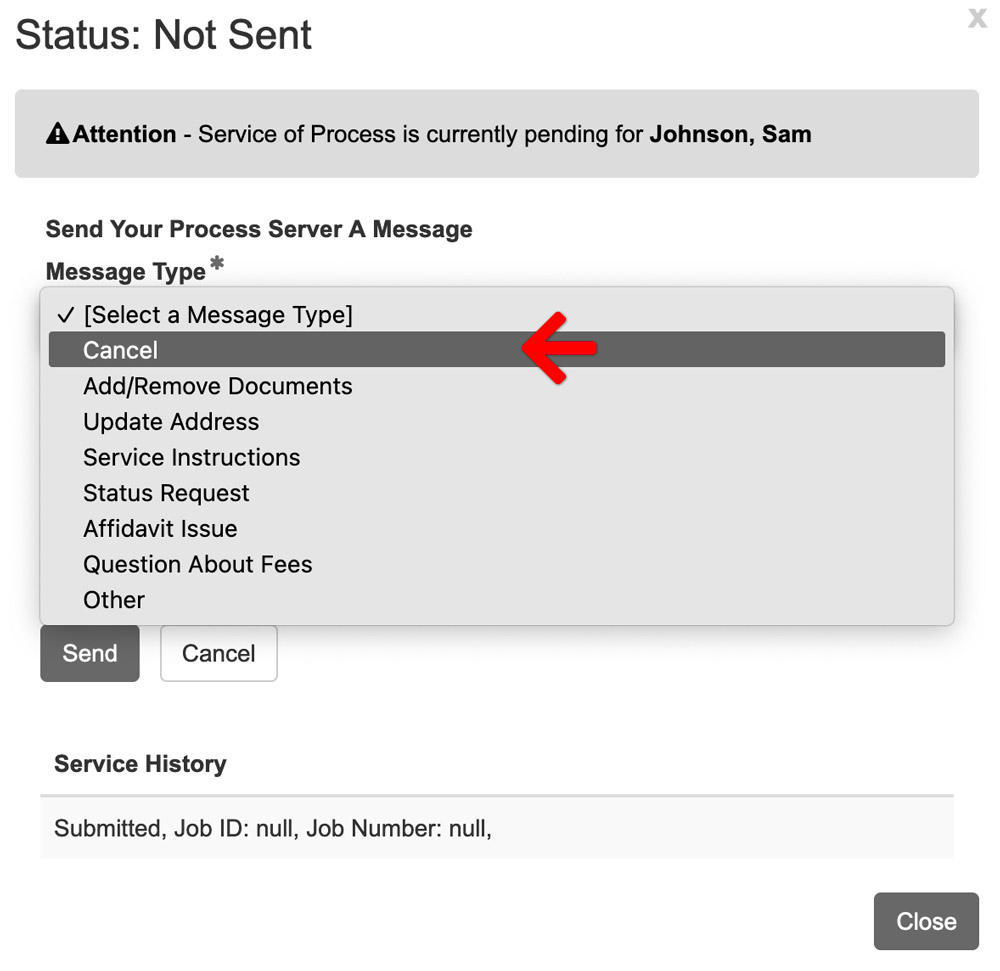
When you click the Send Message link, a popup will display which allows you to choose the type of message you are sending (ie. Update Address, Question about Fees, Status Request, etc) and then send a brief message (no more than 500 characters long).
Additionally, there may be times when our Service of Process partner, One Legal, may reach out to you directly via email. This email will come from an @onelegal.com email address.
Cancel a Service of Process Order
If you find you need to cancel a Service or Process order, you will want to communicate that with your process server by sending them a message as instructed above.
You will need to send the message for each separate party that needs to be cancelled. Click the Send Message link and once the popup displays choose the message type of CANCEL. Then send a brief message for the cancellation. Repeat this process for each party that you wish to cancel Service of Process.


