If you wish to have a document served electronically to any service contacts on a case, Serve Only is an option to use. When filers click the Submit button, the application sends the document(s) to the court only. The court does NOT file them. The court then sends Notification of Service emails directly to each of the service recipients, and it notifies us of this service by any of our customers.
Create Serve Only
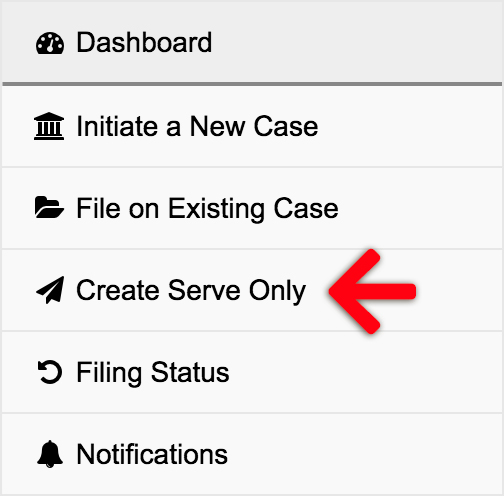
From the Dashboard, click Create Serve Only
1. Select Case – Choose your case, or click add a case to retrieve your case from the court’s system.

You now have the choice to create a serve only filing to electronically serve parties in an existing court case or one not associated with a case.
Serve Only – Existing Court Case
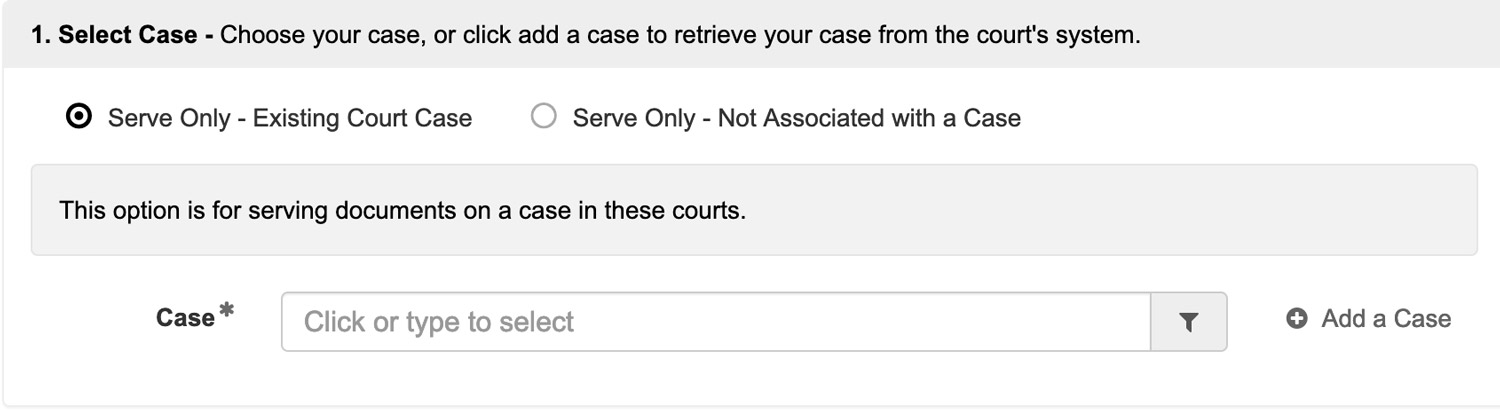
If you select the option Serve Only – Existing Court Case, you may create a serve only filing for any case available in the e-filing system. If you do not see your case in the menu, click the Add a Case link. You may need to do an advanced case search by Party Name if it doesn’t come up on the first try.
Serve Only – Not Associated with a Case
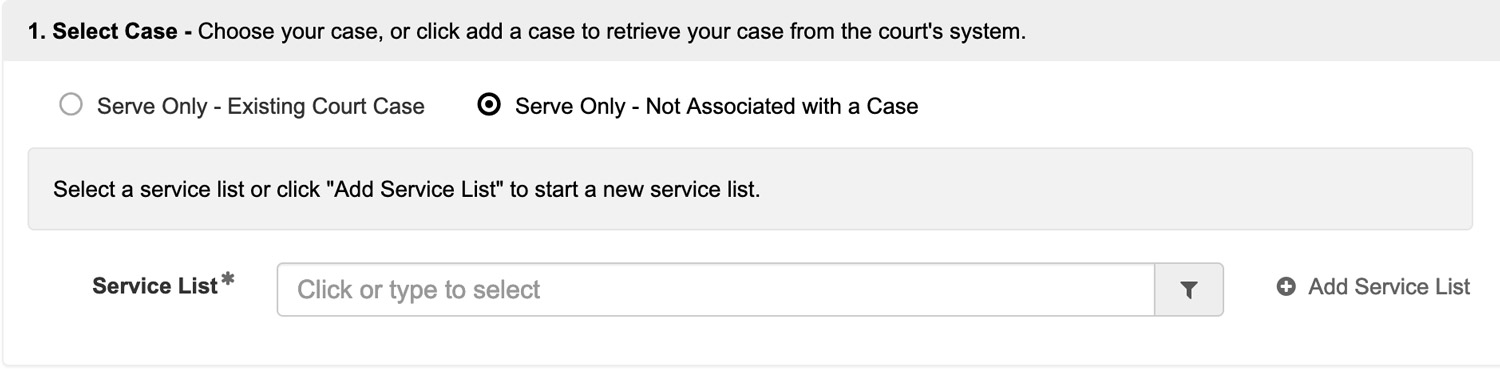
If you wish to serve documents to a party where a case number does not exist (or for a case that is not available in the e-filing system), you may select Serve Only – Not Associated with a Case to send a party or parties documents via email. You will then have the choice to select an existing Service List of parties or add a Service List to create a new list of parties to be electronically served.
2. Add Documents – Define, select, and upload the documents that make up your filing.
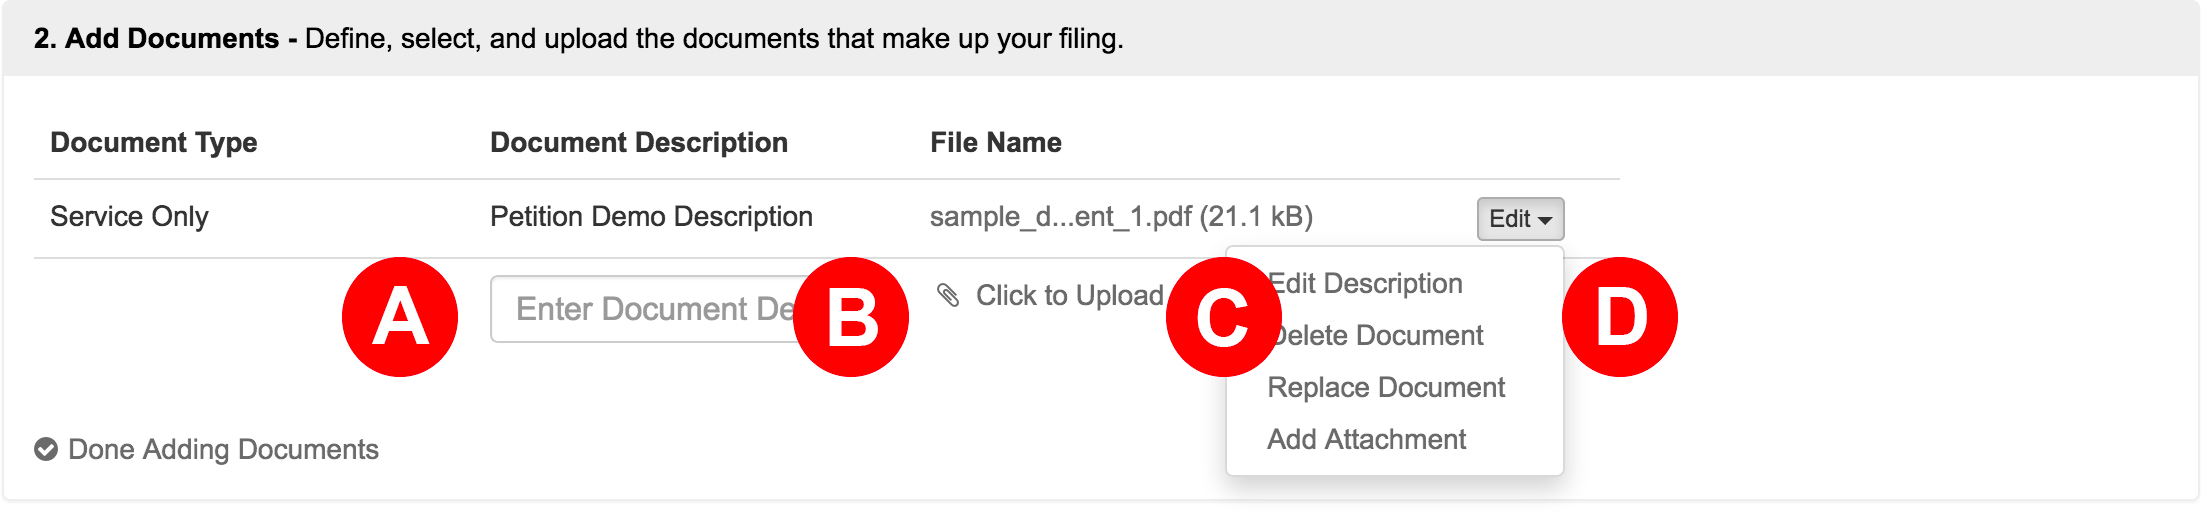
- Document Type – The system automatically names the document as Service Only.
- Document Description – Type the true document title in the document description field.
- Click to Upload – Add your document. We’ll automatically convert most native file formats (i.e. Word, WordPerfect, JPG, PNG, GIF, TIF) into the Court’s preferred Adobe PDF format, upon upload.
- Edit – The Edit button allows filers to edit a description, delete a document, replace a document, or add an attachment.
3. Filing Party – Choose the party or parties you are filing on behalf of.

4. Service Contacts – Add or select service contacts to perform electronic service. Service contacts provided by the court are annotated with and may not be edited.
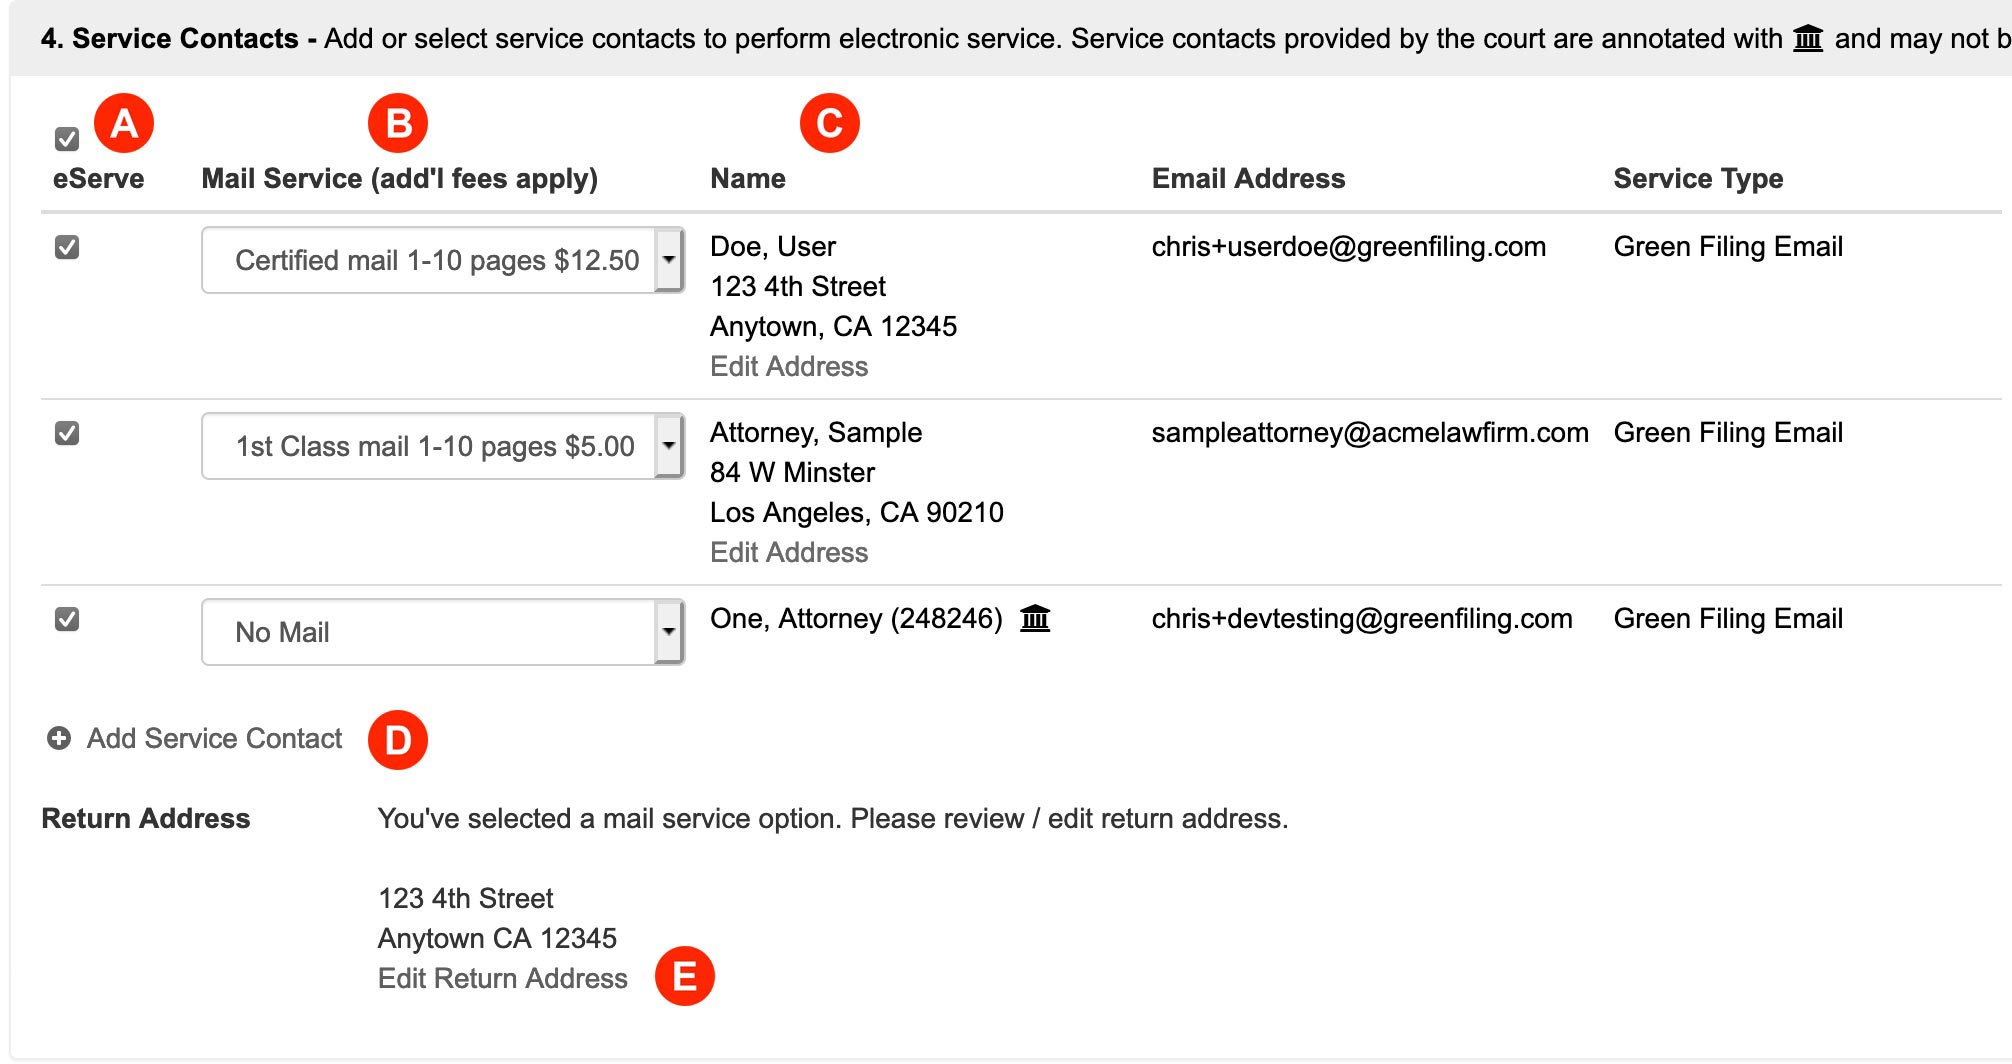
- eServe – Select (or deselect) any one listed to receive e-service. If no contacts are listed (or if a filer wishes to add additional service contacts), click the Add Service Contact link (Letter D). A filer may only edit or delete service contacts they originally added. Any service contacts annotated with is a contact directly from the court and may not be edited or deleted.
- Mail Service – Certified and First Class Mail – In select courts and participating e-filing vendors, this drop down will be enables so filers can send documents to contacts via Certified and First Class Mail.
- Name – In this column, a filer may add or edit an address for Mail Service. However, only the contact’s name will show unless the filer selects a Mail Service type in the previous column.
- Add Service Contact – As always, filers may click the Add Service Contact link to add new contacts to a filing.
- Return Address – Filers will want to make sure the Return Address listed is correct for any returned Mail Service.
Learn More about our new Mail Service via Certified and First Class Mail
5. Postage & Handling – Mail service fees paid separately from filing fees.
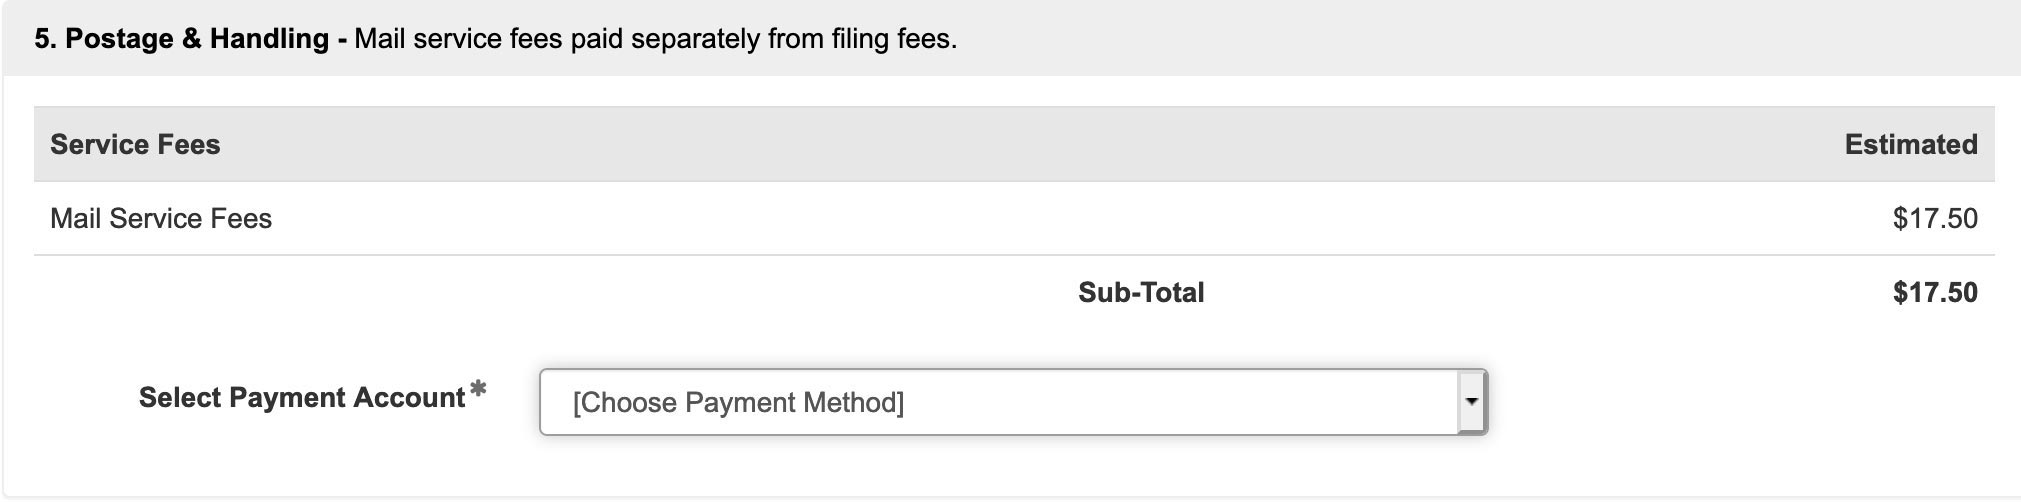
While e-service is free, Certified and First Class Mail requires filers to select a payment type.
6. Review & Submit – Finalize your submission, review, and submit.
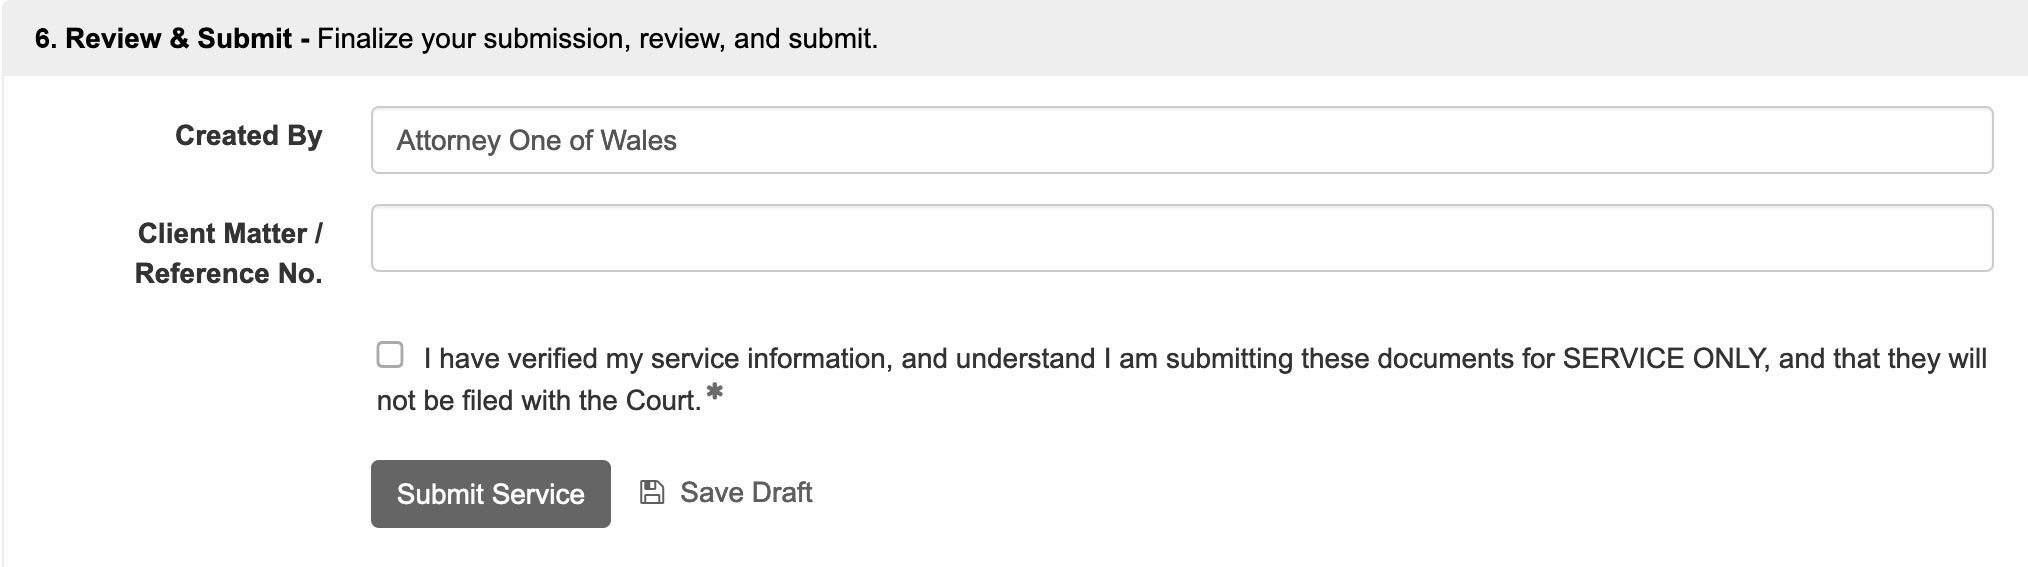
Check the verification box and then click the Submit Service button when ready.
Congratulations! You have submitted your document(s) for electronic service. You may return to this filing for updates on when the recipients receive and open them in addition to the status of the delivery of your Certified and First Class Mail.